
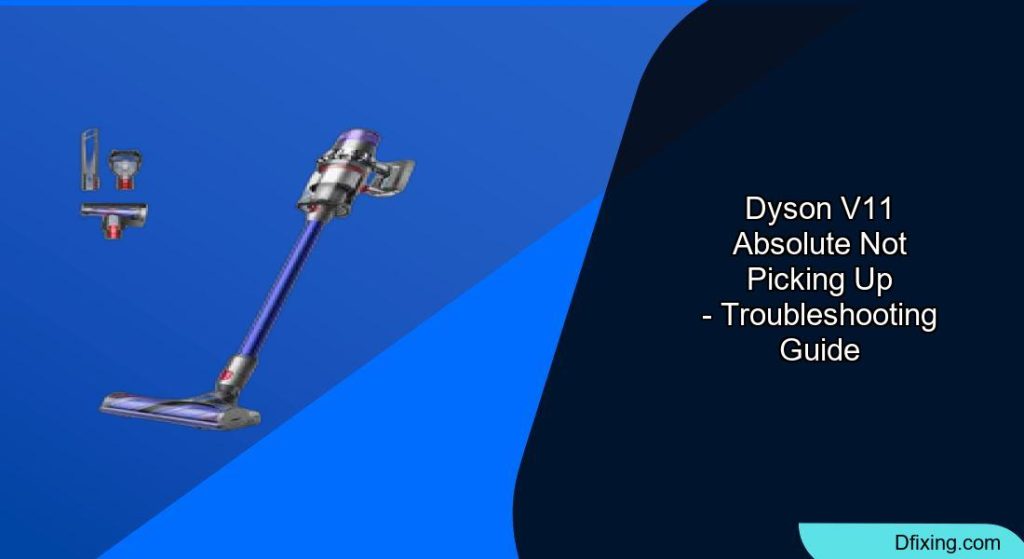
The Dyson V11 Absolute is known for its powerful suction and innovative technology, but even the best vacuums can experience performance issues. If your Dyson V11 Absolute isn’t picking up dirt effectively, several factors could be to blame.
Affiliate disclosure: As an Amazon associate, We'll earn a commission for every successful order through our affiliate links in the article. However, you won’t be charged anything for this.
When your vacuum starts struggling with carpets and floors, makes unusual motor sounds, or frequently shuts down, these are clear indicators that something’s wrong. The good news is that many of these issues can be resolved through proper troubleshooting and maintenance without requiring professional repair.
Common Causes of Weak Suction in Dyson V11

Clogged Filters Reducing Airflow
The Dyson V11 Absolute has two main filters that require regular maintenance:
- Pre-motor filter – Located at the base of the handle or inside the motor housing
- Post-motor filter – Positioned near the exhaust
When these filters become clogged with dust and debris, airflow is significantly reduced, causing a noticeable decrease in suction power. This is often the primary culprit when your vacuum isn’t picking up properly.
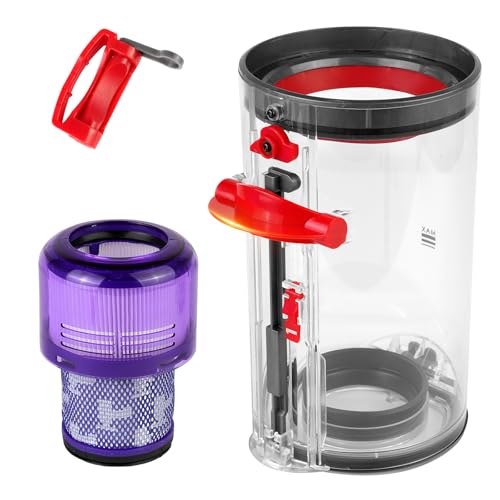
Full Dust Bin Restricting Performance
A full dust bin is another common reason for poor suction. When the bin becomes packed with debris, it restricts proper airflow through the vacuum system. Many users don’t realize that even a bin that appears only partially full can impact performance if debris is blocking critical airflow paths.
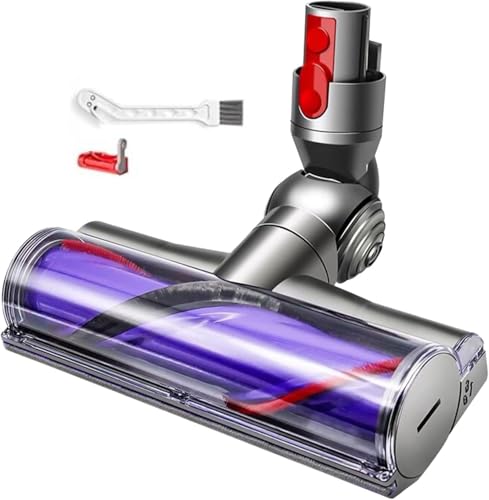
Blocked Brush Bar Issues
The rotating brush bar on your Dyson V11 is essential for effective cleaning, especially on carpets. When hair, string, or other debris becomes entangled around the brush bar, it prevents free spinning, reducing the vacuum’s ability to agitate and collect dirt from your floors.
Worn-Out Components Affecting Function
Over time, normal wear and tear on various components can contribute to suction loss:
– Deteriorating brush bars
– Damaged hoses
– Worn seals and gaskets
– Aging motor components
Hidden Pre-Filter Clogs
A less obvious but significant issue involves clogs in the pre-filter area. The canister contains a narrow, curved passage (approximately 8 inches deep) that can accumulate pet hair, dust, or debris. When this area becomes clogged, it not only reduces suction but also changes the operational sound of your vacuum.
Complete Troubleshooting Guide for Dyson V11 Absolute
Proper Dust Bin Maintenance
- Press the red bin release button to remove the bin
- Hold the bin over a trash container and press the bin release catch to empty completely
- For thorough cleaning, remove the bin completely and rinse with cold water
- Allow the bin to dry completely before reattaching (at least 24 hours)
- Ensure the bin clicks securely back into place
If your dust bin is cracked or damaged, it may be time to replace it to ensure proper suction.

Easier emptying with widened pull plate design

Premium option with enhanced sealing and HEPA filtration

Standard replacement with durable construction
Budget-friendly option with added convenience features
Thorough Filter Cleaning Process
Pre-Motor Filter Cleaning:
- Locate the purple filter at the top of your vacuum
- Twist counterclockwise to remove
- Gently tap against the trash can to remove loose debris
- Rinse thoroughly under cold water (never hot)
- Squeeze and rotate to ensure water flows through all areas
- Continue rinsing until water runs clear
- Squeeze out excess water
- Allow to dry completely for at least 24 hours in a well-ventilated area
- Ensure the filter is 100% dry before reinstalling
Post-Motor Filter Cleaning:
- Locate the post-motor filter near the motor unit
- Remove by pulling it straight out
- Tap gently to remove loose dust
- If visibly dirty, rinse under cold water
- Allow to dry completely for at least 24 hours
- Reinstall when completely dry
WARNING: Using wet filters can cause serious motor damage as Dyson vacuums are not designed to handle water exposure to the motor components.
Clearing Brush Bar Obstructions
- Turn off the vacuum and disconnect from power
- Flip the vacuum over to access the floor head
- Look for the locking mechanism (usually a coin slot or button)
- Release and remove the brush bar
- Use scissors to carefully cut away hair, string, or fibers wrapped around the bar
- Check end caps for debris buildup
- Clean the brush housing with a dry cloth
- Reinstall the brush bar, ensuring it clicks securely into place
- Test the vacuum to confirm the brush rotates freely
If your brush bar bristles are worn or the bar is damaged, consider a replacement.
Premium direct drive head with multi-surface cleaning and anti-tangle design

Affordable replacement with dual bristle design for enhanced debris pickup
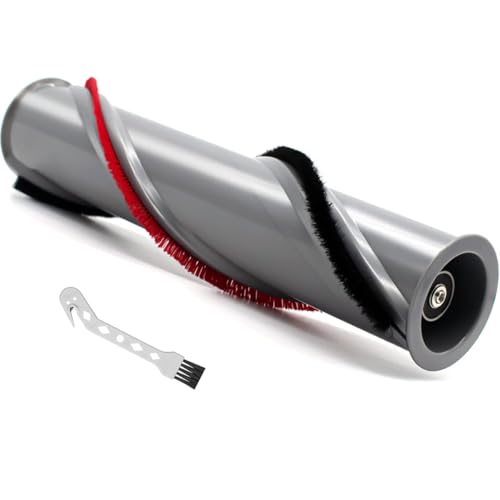
Durable replacement with spiral bristles for deep cleaning and hair removal
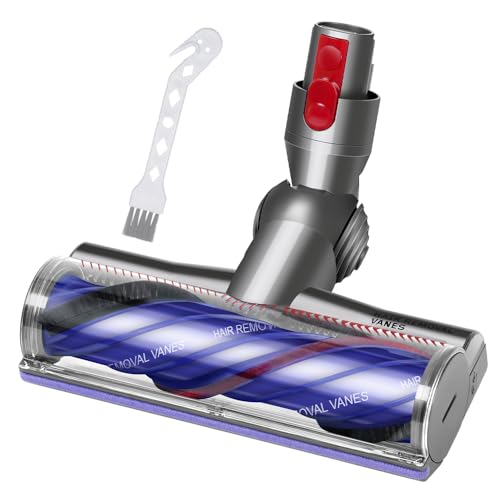
High-end option with anti-static carbon fiber and self-cleaning comb
Inspecting and Clearing Hoses
- Detach the wand or hose from the main vacuum body
- Visually inspect for visible blockages
- Use a long, thin object like a wooden dowel to gently push through any obstructions
- For stubborn clogs, try using compressed air to blow through the hose
- Check connection points for debris buildup
- Reattach securely, ensuring all components click into place
Examining and Replacing Seals
- Check all seals around the dust bin, filters, and connection points
- Look for cracks, tears, or deformation
- Clean seals with a damp cloth to remove dust buildup
- Replace any damaged seals (available through Dyson or authorized retailers)
- Ensure all seals are properly seated when reassembling
If you notice any damaged seals, replace them to maintain optimal suction.

Official compatible replacement with installation video

Affordable repair kit with model verification guide

Budget-friendly option with instant suction restoration
Clearing Pre-Filter Clogs
- Remove the dust bin and locate the pre-filter hole
- Use a long, non-sharp object (like a wooden chopstick)
- Carefully insert into the pre-filter hole (approximately 8 inches deep)
- Gently dislodge any accumulated debris
- Remove the debris from the canister
- Reassemble and test suction
Advanced Troubleshooting for Persistent Issues
Motor and Fan Assembly Inspection
If basic troubleshooting doesn’t resolve the issue, the motor or fan assembly might be affected:
- Listen for unusual noises during operation (grinding, whining, or inconsistent sounds)
- Check for visible damage to the motor housing
- For advanced users comfortable with disassembly:
- Remove the necessary components to access the fan assembly
- Clean with a soft brush or compressed air
- Check for cracks or damage
- Reassemble carefully
Note: Motor issues often require professional repair or replacement.
Battery Performance Assessment
For cordless Dyson V11 models, battery performance directly impacts suction power:
- Check if the vacuum maintains consistent power throughout use
- Test if the battery holds a charge properly
- For removable batteries, try a reset procedure:
- Power off the vacuum
- Remove the battery
- Press the power button for 10-20 seconds to discharge residual power
- Reinstall the battery
- Charge fully before testing
If your Dyson V11 battery is no longer holding a charge or providing sufficient power, it may be time for a replacement.
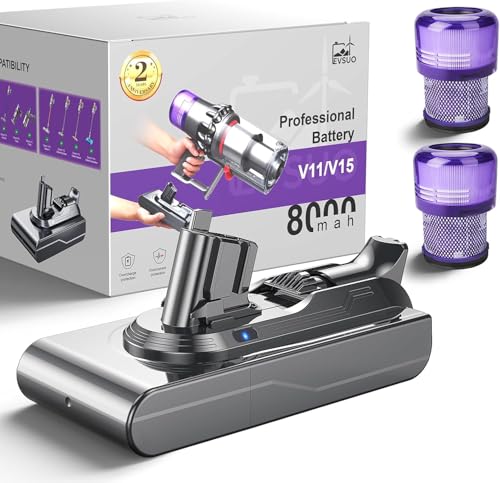
High-capacity battery with 80+ minutes runtime and non-slip wall support

Grade A cells with 8000mAh capacity and smart charging protection
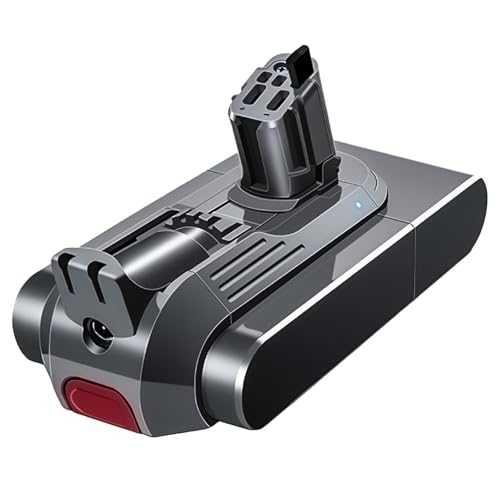
Military-grade safety with 20% longer runtime than standard batteries
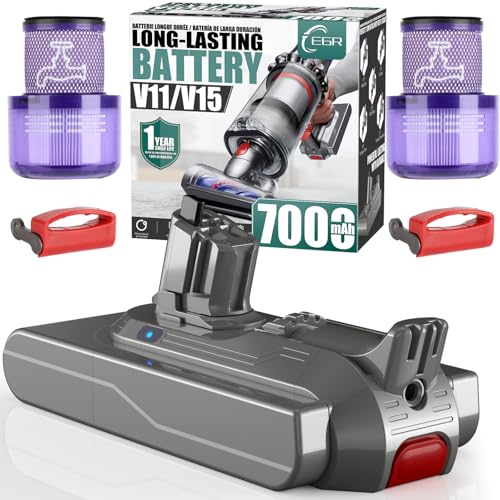
Non-slip wall support design with 7000mAh capacity
Electrical Contact Cleaning
Poor electrical connections can cause intermittent performance issues:
- Locate the electrical contacts between the torque head and vacuum power unit
- Use isopropyl alcohol on a cotton swab to clean the contacts
- Allow to dry completely before reconnecting
- Test the vacuum to see if performance improves
Frequently Asked Questions (FAQ)
Why does my Dyson V11 start then stop after a few seconds?
This is typically caused by one of three issues:
– The battery needs resetting (follow the battery reset procedure above)
– Overheating due to blockages (check all filters and clear any obstructions)
– A faulty connection between components (ensure everything is properly clicked into place)
How often should I clean the filters on my Dyson V11?
Dyson recommends cleaning both filters every 3-4 weeks for regular use. However, if you have pets or use the vacuum frequently, cleaning every 2 weeks may be necessary. Always allow filters to dry completely (24 hours minimum) before reinstalling.
Why is my Dyson V11 making a high-pitched wheezing noise?
This usually indicates a blockage somewhere in the airflow path. The most common locations are:
– The pre-filter area inside the canister
– The connection between the bin and the motor
– The brush bar or floor head
– The wand or hose attachments
Thoroughly check all these areas following the troubleshooting steps above.
Can I wash the Dyson V11 cyclone assembly?
No. The cyclone assembly should never be submerged in water. Instead, use a dry cloth or soft brush to remove dust and debris. For stubborn dirt, a slightly damp cloth can be used, but ensure no water enters the electrical components.
How long should my Dyson V11 battery last before needing replacement?
With proper care, a Dyson V11 battery typically lasts 2-3 years before showing significant capacity reduction. If your vacuum is under two years old and experiencing battery issues, contact Dyson as this may be covered under warranty.
Conclusion
Most Dyson V11 Absolute pickup problems can be resolved through proper maintenance and troubleshooting. Regular cleaning of filters, emptying the bin after each use, and keeping the brush bar free of obstructions will help maintain optimal performance.
If you’ve tried all the troubleshooting steps and your vacuum still isn’t picking up properly, it may be time to contact Dyson customer support or visit an authorized repair center. For units less than two years old, many issues are covered under Dyson’s warranty.
Remember that preventative maintenance is the best approach—regular cleaning and proper care will extend the life of your Dyson V11 Absolute and keep it performing at its best for years to come.


