
When your Dyson V15 stops picking up debris effectively, it can be frustrating, especially considering the premium price tag of these innovative vacuum cleaners. Suction problems are among the most common issues Dyson owners face, but fortunately, most can be resolved with proper troubleshooting and maintenance.
Affiliate disclosure: As an Amazon associate, We'll earn a commission for every successful order through our affiliate links in the article. However, you won’t be charged anything for this.
In this comprehensive guide, we’ll walk through the most common reasons your Dyson V15 might not be picking up properly and provide step-by-step solutions to restore its performance. From simple maintenance tasks to more complex troubleshooting, you’ll find practical advice to get your vacuum working like new again without necessarily requiring professional repair.
Common Causes of Poor Suction in Dyson V15
Poor suction in your Dyson V15 vacuum can stem from several issues, including clogged filters, blocked hoses, full dust bins, damaged brush bars, or even motor malfunctions. A telltale sign of internal problems is when the LED light flashes 10 times at the base, indicating potential motor or component failure. If your vacuum operates in a pulsating or intermittent pattern, this typically points to blockages in the hose or attachments.
Another specific issue worth noting is when debris fills up the airway instead of collecting in the dust bin. This often occurs due to a faulty circular rubber seal that connects the bin to the motor, preventing proper airflow and debris collection.
Essential Maintenance for Optimal Performance
Filter Cleaning Procedure
A dirty filter is one of the most common causes of reduced suction power. Here’s how to properly clean it:
- Remove the Filter: Carefully pull out the filter housing from your Dyson V15.
- Rinse Thoroughly: Hold the filter under cold running water until the water runs clear. Important: never use detergents or cleaning products.
- Dry Completely: Allow the filter to air dry naturally for at least 24 hours. Insufficient drying can lead to mold growth and motor damage.
- Reinstall Properly: Once completely dry, reinsert the filter and ensure it’s securely seated.
If your filter is damaged or you’re looking for a replacement, consider purchasing a new one to maintain optimal performance.

Official Dyson replacement filter for V15/V11 models

Includes cleaning brush for enhanced maintenance

Budget-friendly option with cleaning tool

Cost-effective with money-back assurance
Remember that only specific filters should be washed. Some internal filters should remain dry, as moisture can damage critical components.
Clearing Hose Blockages
Blockages in the hose significantly reduce suction power. Follow these steps to clear them:
- Disconnect the Hose: Detach the hose from both the vacuum body and any attachments.
- Inspect for Obstructions: Use a flashlight to look through the hose and identify any blockages.
- Remove Debris: Use a long, flexible tool like a straightened wire coat hanger to carefully dislodge any obstructions. Avoid using sharp objects that could puncture the hose.
- Reassemble and Test: Reconnect the hose and test the suction.
For models with extended hoses, pay special attention to the attachment area where blockages can hide behind mesh filters or black rims.
Proper Dust Bin Maintenance
A full or improperly maintained dust bin restricts airflow. Here’s how to properly maintain it:
- Power Off: Ensure the vacuum is turned off and unplugged.
- Empty the Bin: Press the release button and empty all contents into a trash bag.
- Clean Thoroughly: Wipe the inside of the bin with a dry cloth to remove residual dust.
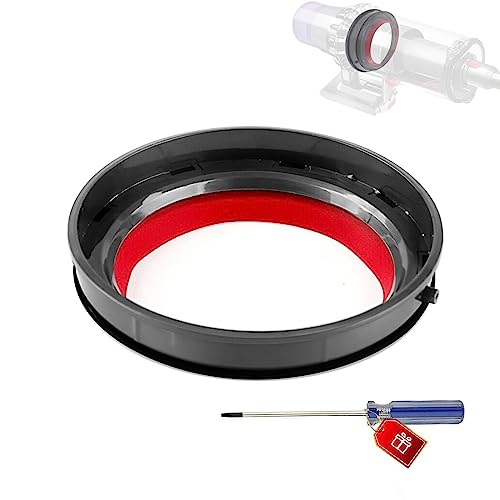
- Check the Bin Seal: Inspect the circular rubber seal that attaches the bin to the motor for wear or damage.
- Clean the Shroud: The shroud (the part with tiny holes) inside the bin should be cleaned with a brush to prevent airflow restriction.
If the circular rubber seal is damaged, it can cause significant suction loss. Replacing it can restore proper airflow.

Premium upgraded seal with Gen5 technology for enhanced durability and suction
Budget-friendly rubber seal with rapid installation and improved suction

Comprehensive kit with video tutorial for seamless DIY replacement

Ultra-fast replacement with instant suction restoration guarantee
Brush Bar Maintenance
Hair and debris can entangle the brush bar, affecting performance:
- Remove the Brush Bar: Turn the vacuum upside down and use a coin to unlock the end cap.
- Clear Tangles: Use scissors to cut away hair, strings, and other entangled debris.
- Inspect for Damage: Check for missing bristles or other damage. A worn brush bar may need replacement.
- Reinstall and Test: Reattach the brush bar, ensuring it spins freely.
If your brush bar is worn or damaged, replacing it can significantly improve your vacuum’s cleaning performance.
Search term for Amazon: Dyson V15 Brush Bar Replacement
Advanced Troubleshooting for Dyson V15 Issues
Resolving Seal and Airflow Problems
Worn seals can cause air leaks that drastically reduce suction:
- Inspect All Seals: Check seals around the dust bin, hose connections, and attachments.
- Test for Leaks: Run your hand around connections while the vacuum is running to feel for escaping air.
- Replace Damaged Seals: Order replacement seals from Dyson if you detect damage.
Cyclone System Verification
The cyclone system can become clogged with fine dust:
- Access the Cyclone: Open the dust bin to expose the cyclone assembly.
- Clean Gently: Tap the cyclone to dislodge debris and use a soft brush for residual dirt.
- Inspect for Damage: Look for cracks or other damage that might affect performance.
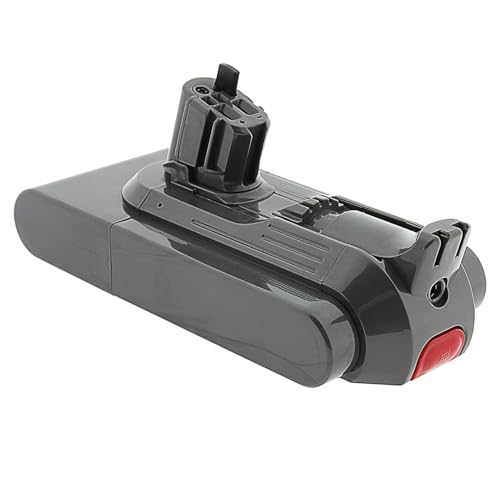
Motor and Battery Diagnostics
If basic maintenance doesn’t resolve the issue, the problem might be with the motor or battery:
- Listen for Abnormal Sounds: Unusual noises during operation often indicate motor problems.
- Check Battery Performance: A weak battery can reduce suction power. Ensure it’s fully charged.
- Test Battery in Another Unit: If possible, test your battery in a compatible Dyson model to confirm functionality.
If the battery is failing to hold a charge, replacing it can restore your Dyson’s suction power and runtime.
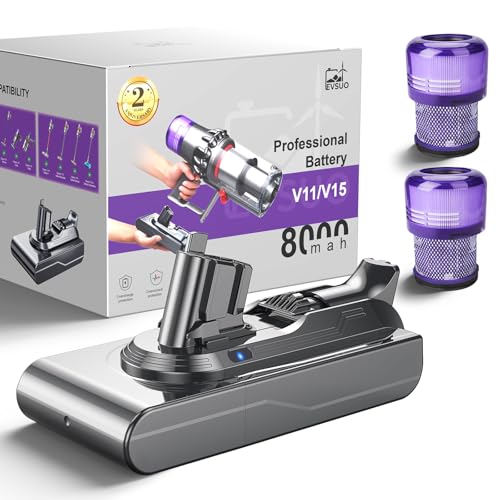
Extended runtime for large homes with high-capacity 8000mAh battery and 24-month warranty.
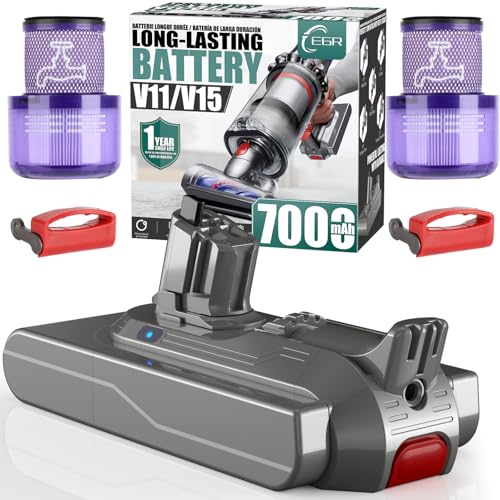
Longer runtime with anti-slip grip and advanced safety features for click-in V15 models.
Budget-friendly option with essential safety features for basic V15 models.

High-capacity battery with fast charging and 12-month warranty for extended use.
Fixing Specific Dyson V15 Problems
Addressing the 10-Flash LED Warning
This warning typically indicates an internal component issue:
- Deep Clean the Bin and Filter: Remove and thoroughly clean both components.
- Dry Components Completely: Ensure all parts are completely dry before reassembly.
- Check Internal Components: If accessible, inspect the motor housing and surrounding areas for debris.
Resolving Pulsating Operation
If your vacuum runs intermittently:
- Verify Battery Charge: Ensure the battery is fully charged.
- Check for Hidden Clogs: Disassemble the vacuum to inspect internal passages.
- Clear Obstructions: Use appropriate tools to remove any blockages without damaging components.
Fixing Flap Mechanism Issues
The flap mechanism at the canister’s nozzle is crucial for proper suction:
- Test Movement: The flap should move inward during operation.
- Check for Stiffness: Turn the vacuum head upside down to see if the flap opens and closes properly.
- Clean or Replace: If the flap is stuck or damaged, clean or replace it as needed.
Replacement Procedures and Solutions
Replacing the Vacuum Body
If internal damage is severe, replacing the body might be necessary:
- Identify Your Model: Determine if you have an SV11/SV14 (clip-in batteries) or SV15/SV17 (screw-in batteries).
- Purchase Compatible Replacement: Order a matching body from Dyson or authorized retailers.
- Transfer Components: Move your bin, battery, and filter to the new body.
This solution is typically more cost-effective than purchasing an entirely new vacuum, especially for models less than three years old.
Anti-Tangle Motor Head Upgrade
For persistent hair-tangling issues:
- Verify Compatibility: Check if an anti-tangle motor head is available for your model.
- Consider Upgrading: This specialized head can significantly improve performance with hair and fibers.
Preventive Maintenance Strategies
Regular Cleaning Schedule
Implement these habits to prevent future issues:
- Weekly Filter Checks: Inspect and clean filters regularly.
- Empty Bin After Each Use: Never allow the bin to fill beyond the MAX line.
- Monthly Deep Clean: Perform a thorough cleaning of all components monthly.
Proper Storage Techniques
How you store your Dyson affects its longevity:
- Keep in Cool, Dry Areas: Avoid humid environments that can damage electronics.
- Store Upright: Use a wall mount or stand to keep the vacuum upright.
- Secure Attachments: Store accessories properly to prevent damage.
Frequently Asked Questions (FAQ)
Why does my Dyson V15 have strong suction but still doesn’t pick up debris?
This is typically caused by a blockage in the brush bar or flap mechanism issues. The vacuum may have suction at the hose, but debris can’t enter the vacuum if the brush bar is tangled or if the flap mechanism is stuck. Clean the brush bar thoroughly and check that the flap moves freely.
How often should I clean my Dyson V15 filter?
For optimal performance, clean your filter at least once a month. However, if you vacuum frequently or have pets, weekly cleaning may be necessary. Always ensure the filter is completely dry before reinstalling it.
Can water damage void my Dyson warranty?
Yes, water damage to internal components not designed to be washed can void your warranty. Only wash components specifically designated as washable in the user manual. Never submerge the main unit or motor housing in water.
Why does my Dyson V15 keep shutting off after a few minutes?
This could be due to overheating protection, a failing battery, or blockages causing the motor to work harder. Check for blockages throughout the system, ensure the filter is clean, and verify that the battery is properly charged. If the problem persists, the battery may need replacement.
Is it worth repairing my Dyson V15 or should I buy a new one?
For most issues, repair is more cost-effective than replacement, especially for vacuums less than 3-5 years old. Component replacements like filters, batteries, or even the main body are typically less expensive than purchasing a new unit. However, if multiple major components are failing, replacement might be the better option.
Conclusion
Most Dyson V15 suction problems can be resolved through proper maintenance and troubleshooting. Regular cleaning of filters, emptying the dust bin, and checking for blockages will prevent many common issues. For more serious problems, component replacement is often more economical than purchasing a new vacuum.
Remember that moisture is the enemy of your Dyson’s electronic components, so always ensure parts are completely dry before reassembly. With proper care and maintenance, your Dyson V15 should provide powerful suction and reliable performance for many years.
If troubleshooting steps don’t resolve your issue, don’t hesitate to contact Dyson’s customer support for professional assistance. They can provide model-specific guidance and information about warranty coverage for your particular problem.


