
When your Dyson Multifloor vacuum cleaner stops picking up debris effectively, it can be frustrating, especially when you rely on it for regular cleaning. Many Dyson owners experience this common issue where the vacuum seems to have strong suction at the hose but fails to pick up dirt from the floor. This comprehensive guide will walk you through various troubleshooting steps to identify and fix the problem, helping you restore your Dyson to its optimal performance.
Affiliate disclosure: As an Amazon associate, We'll earn a commission for every successful order through our affiliate links in the article. However, you won’t be charged anything for this.
Before diving into complex solutions, it’s important to understand that several factors can cause a Dyson Multifloor vacuum to lose its picking power. From simple blockages to mechanical failures, the issue could stem from multiple sources. In this article, we’ll explore all potential causes and provide systematic solutions to get your vacuum working properly again.
Common Causes of Suction Loss in Dyson Multifloor Vacuums
When your Dyson Multifloor isn’t picking up debris effectively, several key factors might be responsible. Identifying the root cause is crucial for implementing the right solution.
The most frequent causes include:
- Clogged filters reducing airflow
- Blockages in various pathways
- Issues with the brushroll not spinning
- Problems with the valve assembly
- Carpet height incompatibility
- Motor or belt malfunctions
- Electrical component failures
Many Dyson owners notice their vacuum “sticking” to carpet surfaces or the brushroll failing to rotate despite the motor running. These symptoms often appear after moving to a new home with different carpet types, particularly high-pile or plush carpets that can challenge the vacuum’s design.
Essential First Checks Before Deep Troubleshooting
Before disassembling your Dyson vacuum, perform these quick initial checks:
Filter Inspection
- Locate and remove all filters from your Dyson Multifloor
- Check for visible dirt, dust, or debris accumulation
- Wash the filters according to manufacturer instructions if dirty
- Allow filters to dry completely (at least 24 hours) before reinstalling
- Ensure filters are properly seated when reinstalling
If your filters are damaged or excessively worn, consider replacing them to ensure optimal airflow and suction power.

Official replacement filter with H13 efficiency for V11/V15 models

Cost-effective 3-pack replacement filters with H13 efficiency
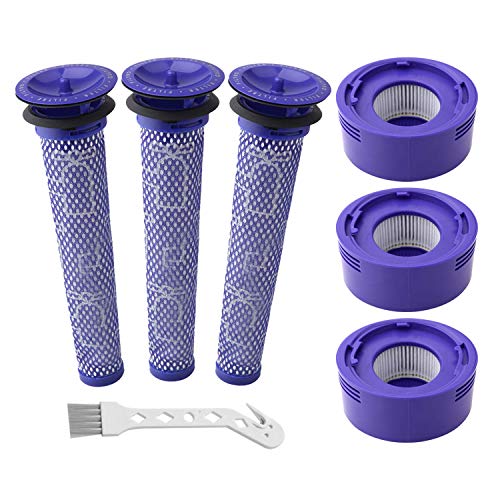
Value bundle with 6 filters and cleaning brush for V7/V8 models
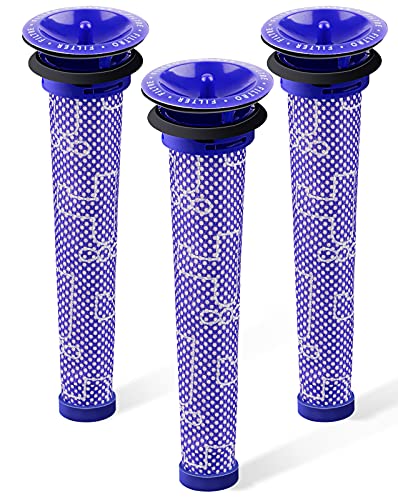
Budget-friendly pre-filter set for V6-V8 models with double sealing
Note: Damp filters can significantly restrict airflow and damage your vacuum.
Basic Blockage Check
- Empty the dust canister completely
- Examine the main debris chamber for any visible obstructions
- Check the entrance to the hose for large debris items
- Look through the transparent sections for any visible clogs
Quick Brushroll Test
With the vacuum on its back:
1. Turn the vacuum on
2. Observe if suction reaches the floor head
3. Lower the head (without touching carpet) to see if the brushroll spins
4. If it doesn’t spin, you may have a clogged brushroll or motor issue
Comprehensive Blockage Inspection and Clearing
Even if initial checks show no obvious blockages, hidden clogs could be causing your suction problems:
Critical Areas to Inspect
Six-Inch Tube at Base Head
This area frequently accumulates carpet fibers and pet hair:
1. Detach the floor head from the main unit
2. Examine the tube connecting to the base head
3. Use a long, thin tool to clear any accumulated fluff
Hose Connection Points
Objects can become lodged at connection points:
1. Disconnect the hose from both ends
2. Shine a flashlight through to identify any blockages
3. Use needle-nose pliers to carefully remove obstructions
4. Check for foreign objects like pens or small toys that may have been accidentally vacuumed
If you find that your vacuum hose is damaged beyond repair or is consistently clogging, consider replacing it with a new one to maintain optimal suction.

Authentic replacement for DC14 vacuums with verified compatibility
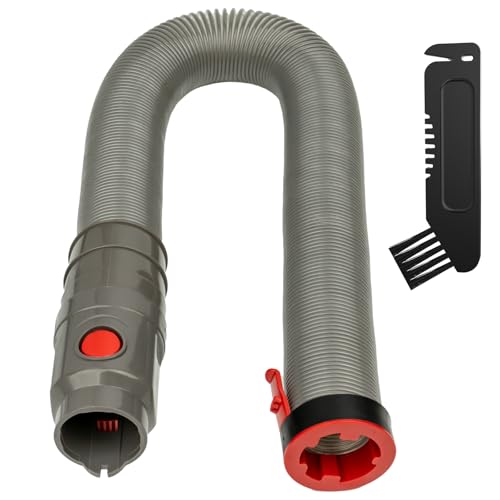
High-quality replacement for DC40/41 with 30-day refund guarantee

Enhanced durability with extended model compatibility
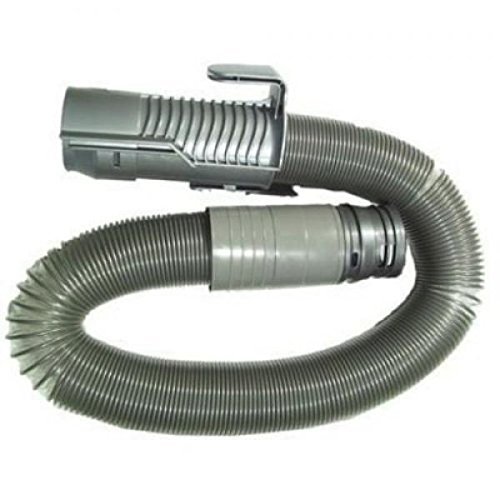
Budget-friendly alternative for DC14 vacuum models
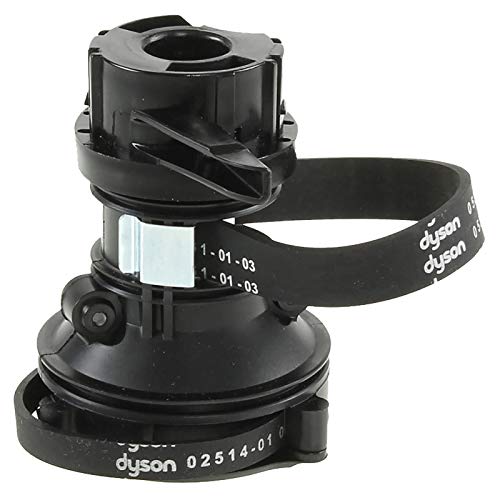
Main Unit and Hose (Specific to DC25/Ball Models)
- Detach the head by releasing the gold prongs, red clips, and top latch
- Clean any debris from the clogged area using gloves and disinfectant wipes
- For thorough cleaning, use 91% isopropyl alcohol
- Deep clean the brush area by flipping the side tabs
- Disconnect the wand and canister for complete inspection
- Use a flashlight to check the entire hose length
- Carefully extract clogs with needle-nose pliers
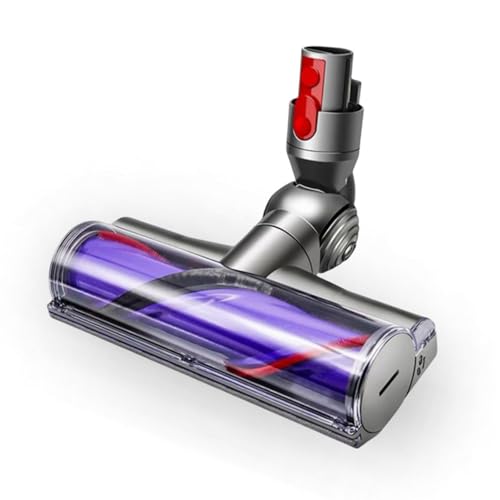
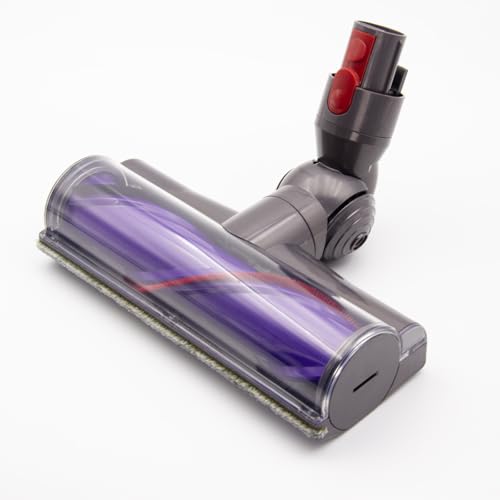
Brush Head Maintenance
- Remove the head using a coin or flathead screwdriver (turn counterclockwise)
- Clear accumulated hair and debris, especially in the bent section
- Check for tangled materials around the brushroll ends
- Ensure the brushroll spins freely after cleaning
If the brush head is severely damaged or worn out, replacing it can significantly improve your vacuum’s cleaning performance.
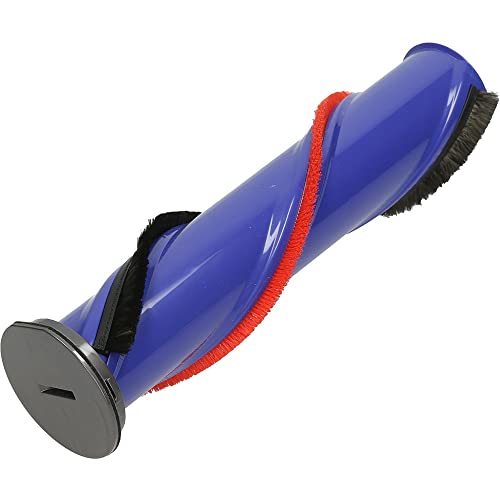
Official replacement for V8/V10 models with durable nylon bristles

Premium V11-specific brush head with adaptive suction technology
Third-party replacement for multiple Dyson models with enhanced cleaning
Long-lasting replacement with easy installation for V7/V15 models
Tank and Inlet Inspection
- Look for fluff or pet hair accumulation at the tank inlet
- Remove the tank bottom by pulling upward
- Detach the inlet using the red switch
- Clean thoroughly before reassembling
Addressing Valve Assembly Problems
The valve assembly in the undercarriage can cause significant suction issues when malfunctioning:
Testing the Valve
- Locate the valve assembly in the vacuum’s undercarriage
- Push firmly with your fingers to check if it opens properly
- If the valve is stuck, it may prevent proper suction at the floor head
Fixing Valve Issues
- Clean the valve area with compressed air
- Apply a small amount of silicone lubricant if the valve is sticking
- If broken, the valve assembly may need replacement
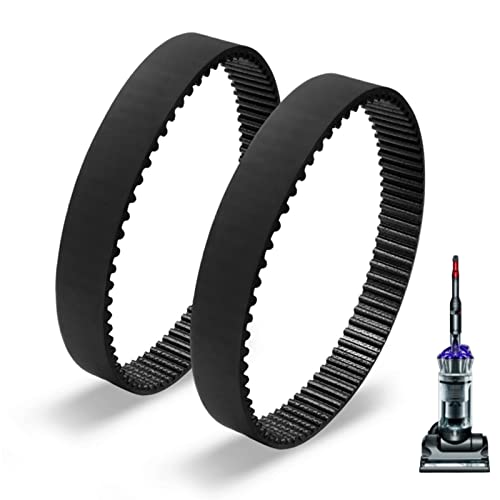
Belt and Motor Troubleshooting
High-pile carpets with rubber backing can place excessive strain on your Dyson’s belt and motor:
Belt Inspection
- Check if the belt is properly positioned
- Look for signs of wear, cracking, or stretching
- Ensure the belt hasn’t slipped off its track
- Replace the belt if it appears damaged or stretched
If the belt is damaged or stretched, replace it.
Official Dyson clutch assembly with belts for multiple models
Affordable elastic rubber belts for DC17 Animal models
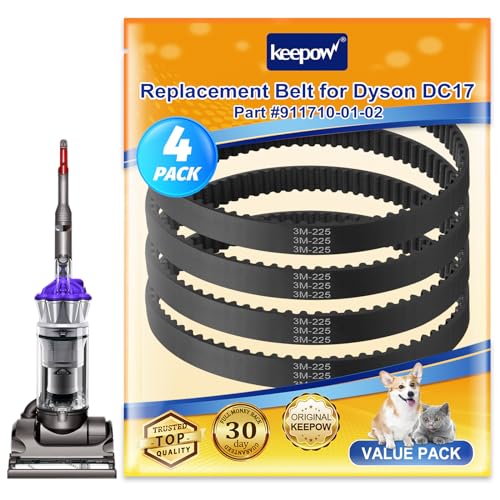
Premium 4-pack for DC17 with long-lasting rubber
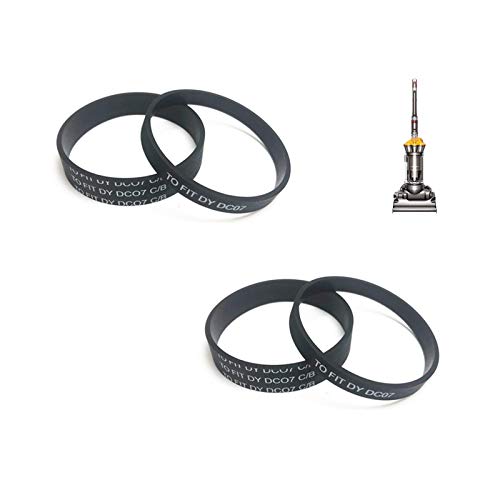
Budget-friendly 2-set for DC07/DC04 models
Motor Assessment
- Listen for unusual sounds when the vacuum is running
- Check for burning smells indicating motor overheating
- Ensure the motor housing isn’t excessively hot
- Test the motor’s performance at different power settings
Thermal Protection and Suction Relief Systems
Dyson vacuums incorporate protection mechanisms that can affect suction:
Thermal Cutoff Reset
Some models feature a thermal cutoff or brushroll reset switch:
1. Turn off the vacuum and unplug it
2. Locate the reset button (usually near the brushroll)
3. Press firmly to reset after allowing the vacuum to cool
4. Wait 30 minutes before attempting to use again
Suction Relief Valve Check
- Locate the suction relief valve (typically on the handle or wand)
- Ensure it hasn’t been accidentally opened
- Close the valve completely to restore suction to the floor head
Troubleshooting Suction Activation Mechanisms
Change Valve Issues (Dyson Animal Models)
If suction fails when lowering the cleaning head or remains engaged in the hose attachment:
- Access the secondary filter on the left-hand side
- Unscrew and remove it
- Inspect the change valve’s path for blockages
- Remove any debris obstructing the mechanism
- Ensure the valve moves freely when reassembled
HEPA Filter Maintenance for Optimal Airflow
Clogged HEPA filters significantly reduce airflow and cleaning effectiveness:
- Remove the HEPA filter according to your model’s instructions
- Tap gently to remove loose debris
- Wash with cold water only (no soap or detergents)
- Allow to dry completely for at least 24 hours
- Replace the filter if washing doesn’t improve performance
If washing doesn’t improve performance, replace the HEPA filter.

2-pack H13 HEPA filter with activated carbon for Dyson TP01 models.

H13 HEPA and carbon filter for Dyson TP04/HP04 air purifiers.
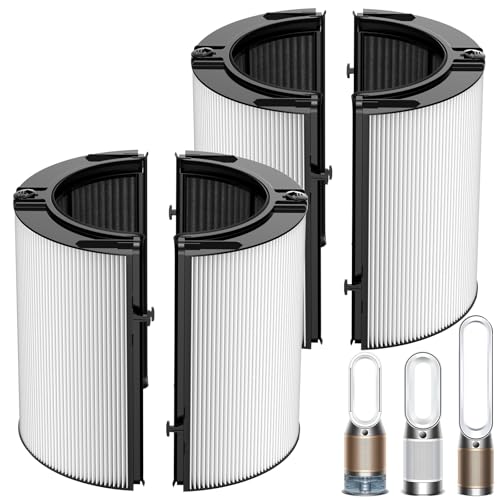
H13 HEPA 2-in-1 filter for Dyson TP07/TP10 with 12-month lifespan.

2-pack H13 HEPA and carbon filter for Dyson HP01/HP02 purifiers.
Advanced Disassembly and Internal Component Maintenance

For persistent issues requiring deeper inspection:
Head Disassembly Process
- Unclip the head from the main unit
- Extract the four side screws securing the components
- Carefully lift out brush assemblies
- Remove five star-shaped screws (requires specialized screwdriver)
- Clean dust buildup throughout the internal compartment
Electrical Testing
- Use a multimeter to check for wiring continuity
- Pay special attention to the white wire connections
- Test all electrical connections for secure attachment
- Look for signs of burned or damaged wiring
Proper Reassembly
- Align the keyed spindle carefully during reassembly
- Secure all screws to their proper torque
- Ensure no wires are pinched during closure
- Test functionality after reassembly before full use
Dealing with Pulsing Behavior in Cordless Models
If your cordless Dyson pulses on and off when holding the trigger:
- Check for blockages throughout the system
- Examine the battery for signs of degradation
- Ensure the battery is fully charged
- Test with a different battery if available
- Consider battery replacement if the issue persists after clearing blockages
If the battery is degrading, replace it.

Official Dyson V7 battery with 5000mAh capacity for extended runtime.

Upgraded 7000mAh battery for V8 models with non-slip design and 3 filters.

8000mAh high-capacity V8 battery with 10-layer safety and enhanced filtration.

Budget-friendly 5000mAh replacement for V7 with fast charging and smart protection.
Comprehensive Maintenance Checklist
For regular preventive maintenance:
Brush Bar Maintenance
- Ensure secure attachment to the motor
- Remove hair and debris regularly
- Check for wear or damage
- Replace if bristles are worn down
If the brush bar is damaged or worn down, replace it.
Official replacement for V8/V10 models with nylon bristles

Premium motorized cleaner for DC65/DC66 vacuums

Upgraded anti-tangle for V8/V11 with hair reduction

Durable option for V12/V15 models with pet hair removal
Electrical Component Verification
- Verify the red power switch functions properly
- Check all wiring connections for security
- Test power circuit continuity with a multimeter
- Ensure the DC connection is stable and functional
Motor and Switch Testing
- Confirm the motor operates without unusual noise
- Test the main on/off switch for proper activation
- Ensure power flows consistently to the motor
- Check for loose connections affecting performance
Head Assembly Inspection
- Examine for loose parts or damage
- Ensure secure alignment with the main unit
- Check for gaps that might cause suction leakage
- Verify all clips and latches engage properly
Preventive Care Best Practices
To prevent future suction problems:
Establish Regular Cleaning Routines
- Clean filters monthly
- Inspect hoses and brushes weekly
- Empty the dust canister after each use
- Use recommended cleaning materials like 91% isopropyl alcohol
Follow Proper Drying Protocols
- Allow all washed components to dry completely
- Never reassemble with damp parts
- Use natural air drying rather than heat sources
Use Appropriate Tools
- Keep needle-nose pliers handy for removing clogs
- Invest in the correct screwdrivers for your model
- Use soft brushes for cleaning delicate components
Monitor Battery Performance
- Track runtime to detect degradation
- Replace batteries showing significant capacity reduction
- Store cordless units properly charged
Ensure Secure Assembly
Verify all components click firmly into place
- Check for gaps that might cause suction leakage
- Test functionality after maintenance
Frequently Asked Questions (FAQ)
Why does my Dyson stick to the carpet and become difficult to push?
When your Dyson vacuum sticks to the carpet, it’s typically due to excessive suction combined with the carpet type. High-pile or plush carpets create a tight seal with the vacuum head. Try using the suction release valve (if your model has one) or slightly tilt the vacuum backward while pushing to reduce the seal with the carpet surface.
My Dyson has strong suction at the hose but doesn’t pick up from the floor. What’s wrong?
This common issue usually indicates a blockage between the floor head and the main suction system or a problem with the valve assembly that directs airflow. Check the six-inch tube at the base head for carpet fluff accumulation and inspect the valve assembly in the undercarriage to ensure it’s opening properly when the vacuum is in floor cleaning mode.
How often should I clean the filters on my Dyson Multifloor vacuum?
Dyson recommends washing the filters at least once a month for regular household use. However, if you have pets or vacuum frequently, cleaning the filters every 2-3 weeks can maintain optimal performance. Always allow filters to dry completely (at least 24 hours) before reinstalling them.
Why does my Dyson brushroll stop spinning when I use it on carpet?
If the brushroll stops spinning on carpet, it could be due to hair/thread entanglement around the brushroll ends, a broken belt, or the carpet pile activating the safety cutoff mechanism. Remove the brushroll and clear any wrapped debris, check the belt condition, and test the vacuum on different carpet heights to determine the exact cause.
Is it normal for my Dyson to lose suction over time?
While some suction reduction is normal as filters accumulate dust between cleanings, significant suction loss indicates a problem. Regular maintenance should restore performance. If thorough cleaning and blockage removal don’t improve suction, internal component wear or motor issues might require professional service.
Conclusion
Restoring your Dyson Multifloor vacuum’s picking power typically involves methodical troubleshooting through several potential problem areas. From simple blockages to more complex mechanical issues, this guide has covered the comprehensive steps needed to diagnose and resolve suction problems.
Remember that regular maintenance is key to preventing future issues. By establishing a routine cleaning schedule for filters, brushrolls, and pathways, you can maintain your Dyson’s performance and extend its lifespan significantly. For persistent problems that don’t respond to these troubleshooting steps, consider contacting Dyson customer service if your vacuum is under warranty or consulting a local vacuum repair specialist for professional assistance.
With proper care and timely intervention when problems arise, your Dyson Multifloor vacuum should provide years of effective cleaning performance across various floor surfaces in your home.


