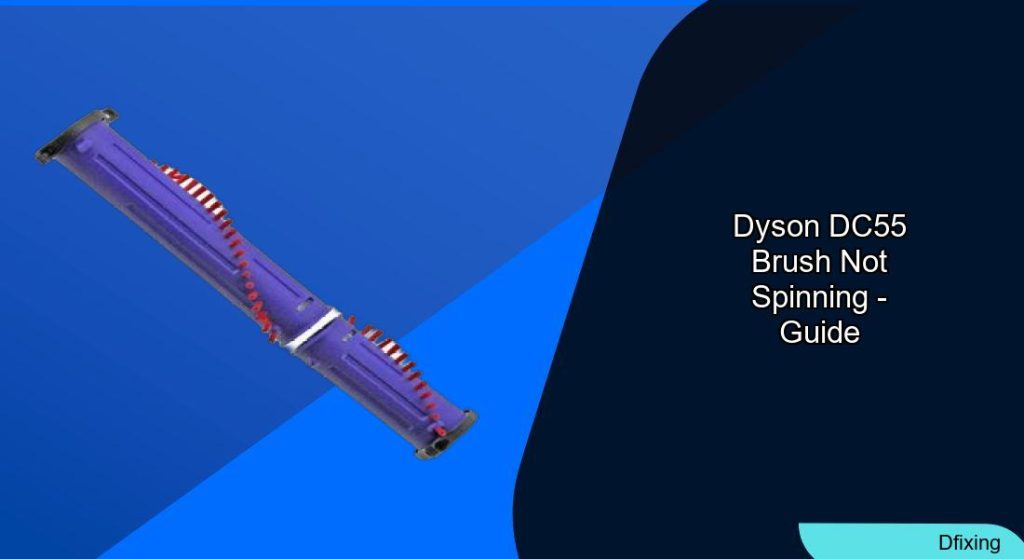
Vacuuming efficiency plummets when the Dyson DC55’s brush roll stops spinning. This issue often stems from debris buildup, mechanical wear, or electrical faults. Homeowners frequently encounter frustrations like tangled hair jamming the brush roll, clogged connectors, or a tripped reset button. Fortunately, most problems can be resolved with basic tools and troubleshooting steps. This article breaks down the root causes, provides actionable solutions, and offers preventive tips to keep your Dyson DC55 running smoothly.
Affiliate disclosure: As an Amazon associate, We'll earn a commission for every successful order through our affiliate links in the article. However, you won’t be charged anything for this.
The Dyson DC55 relies on a combination of mechanical and electrical components to power its brush head. When these systems fail—whether due to a broken belt, faulty motor, or blocked air passages—the vacuum’s performance suffers. Diagnosing the problem requires a methodical approach, from inspecting the brush roll for debris to testing the motor’s functionality. By understanding common failure points and learning how to address them, you can extend the lifespan of your vacuum and avoid costly repairs.
Why Your Dyson DC55 Brush Won’t Spin
Several factors can prevent the brush roll from rotating. Clogged brush rolls are the most frequent culprit, with hair, threads, or small objects jamming the mechanism. Similarly, the black spiral connector inside the brush head often accumulates debris, causing the assembly to seize. Over time, worn-out brushes lose their effectiveness, while a broken belt or failed motor/pulley assembly can completely halt rotation. Electrical issues, such as loose wires or a tripped reset button, also disrupt power delivery. Additionally, blocked air passages reduce suction, indirectly affecting brush performance.
Mechanical design flaws in Dyson cleaner heads exacerbate these problems. Bearings can lock up due to hair buildup, and the polymer drive block—lacking glass reinforcement—may break, necessitating full assembly replacement. Even the motor, often a Johnson-branded unit, risks overheating or corrosion, especially under stress from a jammed brush roller.
Troubleshooting: Step-by-Step Fixes
Clearing Debris and Resetting the Brush Head
- Turn off and unplug the vacuum.
- Remove the brush roll and black spiral connector using a screwdriver.
- Use scissors to cut away tangled hair or debris.
- Clean the connector and brush housing thoroughly with a small brush.
- Locate the red reset button on the brush head (distinct from the power switch) and press it.
Testing for Power and Mechanical Issues
- Check the motor: Turn on the vacuum. If the motor runs but the brush doesn’t spin, inspect the belt for wear or breakage.
- Test positioning: If the brush spins when the vacuum is upside-down but stops when upright, realign the mechanical components or consult a technician.
- Inspect electrical connections: Ensure wires are secure and undamaged.
Replacing Faulty Components
- Brush Roll: Purchase a model-specific replacement. Remove the old roll, install the new one, and secure it with clips or screws.
- Belt: Replace a broken or stretched belt by accessing the motor/pulley assembly.
- Motor/Pulley Assembly: For persistent issues, replace this component or contact Dyson support for assistance.
Specific Problems and Solutions

Clogged Bearings or Drive Block
Hair accumulation in bearings often leads to mechanical failure. Disassemble the brush head, clean the bearings with a dry cloth, and lubricate them lightly. If the drive block is cracked, replace the entire cleaner head assembly.
Tripped Reset Button
A red reset button on the brush head may trip due to debris. Press it firmly after clearing blockages to restore function.
Overheating Motor
If the motor emits a burning smell or feels excessively hot, turn off the vacuum immediately. Allow it to cool, check for airflow blockages, and replace the motor if damage is evident.
Preventive Maintenance Tips
Regular upkeep prevents recurring issues:
– Empty the dust bin after each use to maintain suction.
– Wash filters monthly and let them dry completely before reinserting.
– Inspect the brush roll weekly for debris and trim tangled hair.
– Avoid overloading the vacuum with large debris to reduce strain on the motor.
– Store the vacuum in a dry area to protect electrical components.
Frequently Asked Questions (FAQ)
How do I reset my Dyson DC55 brush head?
Locate the red reset button on the brush head (not the power switch). Press it after clearing debris to restore brush rotation.
Why does my brush head only work when the vacuum is upside down?
This indicates a mechanical alignment issue. Check the pulley assembly or consult a technician for realignment.
Can I replace the motor/pulley assembly myself?
Yes, but ensure you purchase the correct part for your model. Follow safety precautions when handling electrical components, or seek professional help.
How often should I clean the brush roll?
Inspect and clean the brush roll weekly, especially if vacuuming pet hair or long fibers.
What causes the motor to overheat?
Blocked air passages, a jammed brush roll, or prolonged use on high settings can strain the motor, leading to overheating.
Conclusion
A non-spinning brush on your Dyson DC55 is often fixable with basic troubleshooting. From clearing debris to replacing worn parts, addressing these issues promptly can save time and money. Regular maintenance, such as cleaning filters and inspecting the brush roll, further prevents future breakdowns.
If problems persist despite these steps, contacting Dyson support or exploring third-party repair options may be necessary. By staying proactive, you’ll keep your vacuum performing at its best for years to come.


