
A Dyson vacuum’s brush bar stopping after cleaning can disrupt your cleaning routine and signal underlying mechanical or maintenance issues. Common causes range from tangled debris and damaged components to electrical faults and worn parts. This guide provides actionable solutions, model-specific repairs, and preventive strategies to restore your vacuum’s performance.
Affiliate disclosure: As an Amazon associate, We'll earn a commission for every successful order through our affiliate links in the article. However, you won’t be charged anything for this.
You’ll learn how to diagnose obstructions, replace critical parts, and maintain optimal function while avoiding costly repairs. Whether dealing with a seized bearing, a broken belt, or a clogged gear, this article equips you with the knowledge to tackle the problem confidently.
Common Causes of Brush Bar Malfunctions
The brush bar’s failure to spin often stems from avoidable or repairable issues. Key culprits include:
– Debris blockages: Hair, fibers, or small objects lodged in the brush mechanism.
– Damaged brush bar shaft or bristles: Physical wear or bending prevents rotation.
– Clogged gear mechanisms: Accumulated dirt jamming the drive gear.
– Worn or broken belts: Loss of connection between the motor and brush bar.
– Faulty electrical contacts: Corrosion or dirt disrupting power flow.
– Battery failure: Insufficient charge to power the brush roll.
– Improper settings: Incorrect pile height adjustments straining the motor.
Identifying the root cause early streamlines repairs and prevents recurring issues.
Step-by-Step Troubleshooting Guide
Removing Blockages
- Unplug the vacuum for safety.
- Disassemble the brush bar cover using a screwdriver.
- Extract the brush roll and cut away tangled hair with scissors.
- Inspect the spindle for residual debris using pliers.
- Check the brush roll interior by removing end caps.
- Reassemble carefully, ensuring the cover is securely tightened.
If the brush roll bristles are worn or damaged beyond simple cleaning, consider replacing the brush roll.

Genuine Dyson replacement for DC65/DC66/UP13 models
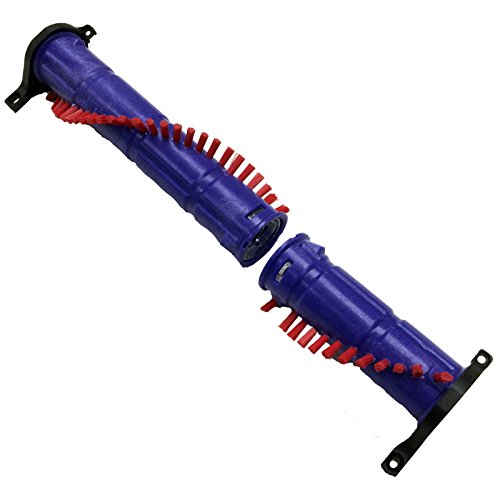
Premium third-party replacement for Dyson DC65/DC66/UP-13

V8-specific replacement with enhanced cleaning performance
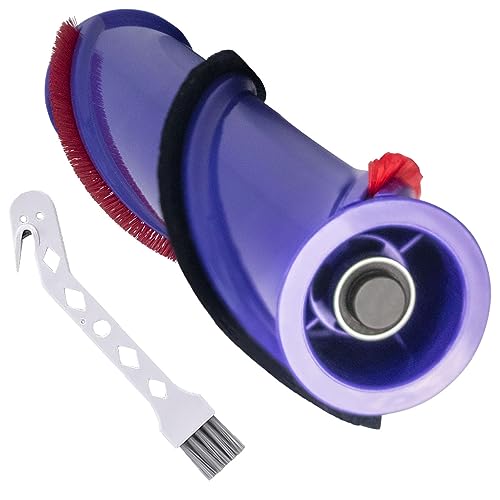
Cost-effective V8 replacement with quiet operation
Cleaning Electrical Contacts
- Detach the brush head from the vacuum.
- Locate metal pins on both the head and canister.
- Blow away debris with compressed air.
- Wipe contacts with rubbing alcohol or electrical cleaner using a cotton swab.
- Allow contacts to dry before reattaching the head.
Checking the Belt and Gear
- Inspect the belt for cracks or breakage; replace if damaged.
- Test gear mobility by manually rotating it. Clean with a brush if clogged.
- Verify alignment of gears during reassembly to ensure smooth operation.
If the belt is damaged, it will need to be replaced to ensure the brush bar spins correctly.
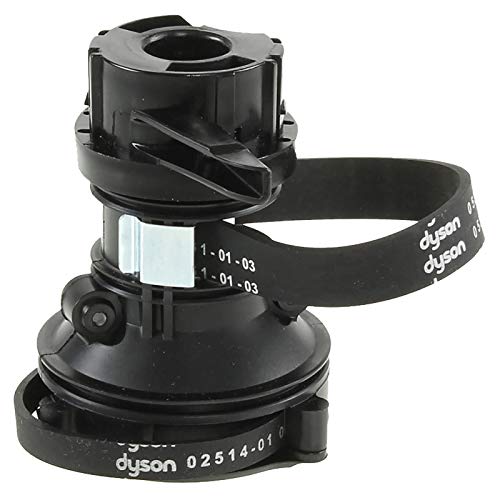
Official replacement for multiple Dyson models with clutch and belts
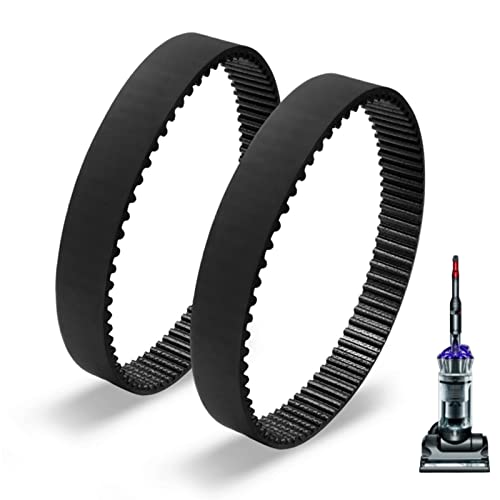
Affordable elastic replacement belts for DC17 series vacuums
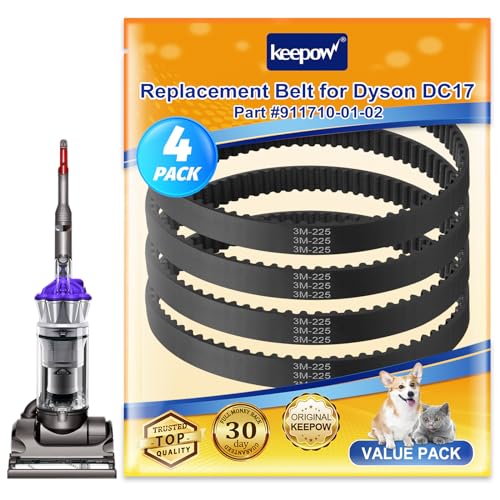
Bulk replacement option with 4 belts for DC17 models
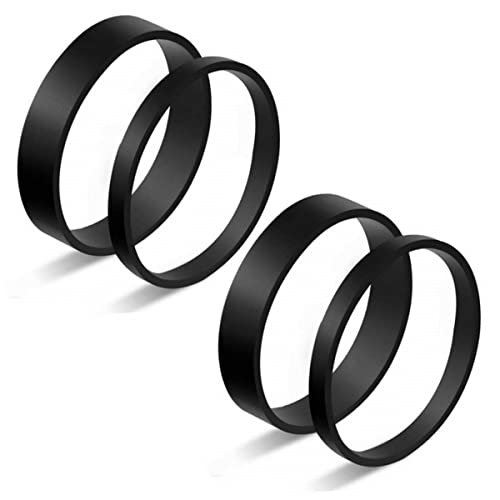
Flexible replacement belts for older Dyson vacuum models
Model-Specific Repairs

Fixing the Dyson SV11 Brush Head Freezing
Issue: A frozen bearing near the motor mount locks the brush head’s teeth, causing seizing.
Solution:
1. Apply penetrating oil to the bearing multiple times.
2. Use a screwdriver to gently push the teeth while rotating the bearing.
3. Test the vacuum; repeat the process if the bearing remains stiff.
4. Lubricate moving parts regularly with lithium grease to prevent recurrence.
Repairing the Dyson DC40 Brush Head
Tools Needed: T5 screwdriver, WD-40, electrical cleaner.
Steps:
1. Remove the suction head by prying open the retainer clip.
2. Clean bearings with a wire brush and electrical cleaner.
3. Lubricate bearings with WD-40 or lithium grease, wiping excess.
4. Realign grooves during reassembly to avoid operational hiccups.
Replacing the Dyson DC65 Gear Mechanism
Issue: A fractured internal gear and loose bearing halt rotation.
Fix:
1. Remove plastic covers using T9 and T15 Torx bits.
2. Install a replacement gear and belt (available from third-party sellers).
3. Secure components with T15 screws and reattach the plastic shield.
Preventative Maintenance and Best Practices
- Regular Cleaning: Clear debris from brush wheels, caster wheels, and housing grooves after every 5–10 uses.
- Filter Care: Clean or replace filters monthly to maintain suction.
- Lubrication: Use lithium grease (not WD-40) for long-term bearing protection.
- Avoid Moisture: Keep internal components dry to prevent rust.
- Optimal Settings: Adjust pile height according to carpet or floor type.
Frequently Asked Questions (FAQ)
Why won’t my Dyson brush bar spin after cleaning?
A blockage, damaged belt, or electrical fault is likely. Follow the troubleshooting steps to isolate the cause.
Can a reset fix the brush bar issue?
Yes. Unplug the vacuum, press the reset button for 30 seconds, and leave it unplugged for 30 minutes.
When should I replace the brush head?
If cleaning and part replacements fail, or if the head is under warranty, contact Dyson for a replacement.
How do I contact Dyson Support?
- US: 866-693-9766
- UK: 0800-298-0298
- CA: 1-877-397-6622
Are DIY repairs safe?
Yes, but always unplug the vacuum first and use proper tools like Torx bits for disassembly.
Conclusion
A non-spinning Dyson brush bar is often a solvable issue with systematic troubleshooting. Regular maintenance, such as clearing debris, lubricating moving parts, and replacing worn belts, can prevent future failures. For model-specific problems like gear fractures or frozen bearings, targeted repairs restore functionality.
When DIY fixes fall short, Dyson’s customer support or warranty replacements offer reliable solutions. By prioritizing upkeep and addressing issues early, you’ll extend your vacuum’s lifespan and ensure consistent cleaning performance.


