
Dealing with a Dyson DC33 where the belt isn’t spinning can turn a simple cleaning task into a frustrating ordeal. The beater bar’s failure to rotate not only reduces suction but also leaves dirt and debris behind. Common culprits include debris jams, worn belts, clutch malfunctions, or clogged filters. The good news? Most issues can be resolved with basic tools and a systematic approach. This guide walks you through diagnosing the problem, replacing critical components, and maintaining your vacuum for optimal performance.
Affiliate disclosure: As an Amazon associate, We'll earn a commission for every successful order through our affiliate links in the article. However, you won’t be charged anything for this.
By the end of this article, you’ll understand how to troubleshoot specific scenarios—like the beater bar stalling in carpet mode or clutch misalignment—and learn preventive maintenance tips. Whether you’re a DIY enthusiast or a first-time repairer, these steps will restore your Dyson DC33’s functionality without breaking the bank.
Troubleshooting Dyson DC33 Belt Problems
Common Symptoms and Causes
A malfunctioning Dyson DC33 typically exhibits clear signs:
– Beater bar not spinning during operation.
– Unusual noises (e.g., grinding or squealing).
– Poor dirt pickup, even with strong suction.
Root causes range from simple to complex:
– Debris jams缠绕 hair, string, or small objects around the brush roll.
– Worn or stretched belts losing tension over time.
– Clutch mechanism failure, especially in models with hard floor/carpet settings.
– Clogged filters or hoses, reducing airflow and motor efficiency.
Tools and Materials Needed
Gather these essentials before starting:
– Flat-head and Phillips screwdrivers.
– Replacement belt (Part Number 4626) or Bissell 1699 pump belt (alternative).
– Torx screwdrivers (T10, T15).
– Snap ring pliers and needle-nose pliers.
– Lubricant (e.g., silicone-based) and isopropyl alcohol (for brittle parts).
– Heat gun or hot water (for stubborn hose springs).
Step-by-Step Repair Guide
Safety First: Unplug and Prepare
Always disconnect the vacuum from power before repairs. Lay it on a flat surface with adequate lighting to access internal components.
Accessing the Beater Bar
- Remove the housing cover: Locate screws on the vacuum’s base or dust bin compartment. Use a Torx T15 screwdriver to extract them.
- Lift the cover gently: Expose the beater bar and inspect for visible debris or damage.
Debris Inspection and Removal
Hair and thread often the brush roll, causing jams. Use a cleaning brush or scissors to cut away debris. For stubborn blockages, gently pry them loose with a flat-head screwdriver.
Replacing the Belt
Check the belt: Look for cracks, stretching, or misalignment. A damaged belt won’t maintain tension.
Remove the old belt: Slide it off the motor shaft and beater bar.
Install the new belt: Loop it over the motor shaft first, then the beater bar. Ensure it sits snugly in the clutch grooves.
Test manually: Rotate the beater bar by hand to confirm smooth movement.
If the belt is worn out or damaged, it needs to be replaced to ensure the beater bar spins correctly.
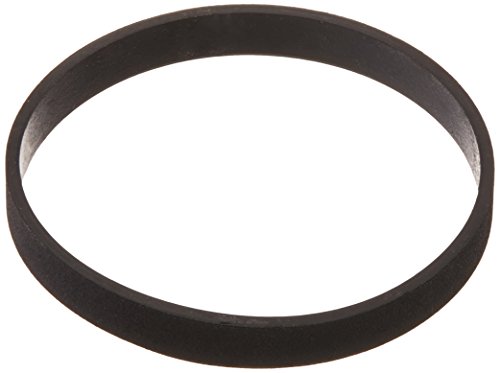
Official Dyson belt replacement for DC33 models
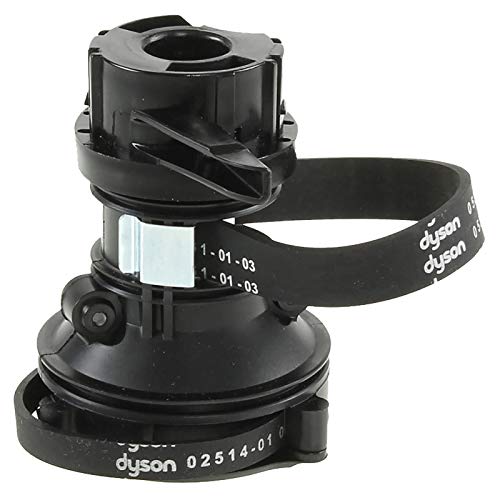
Complete Dyson clutch with replacement belts for DC33
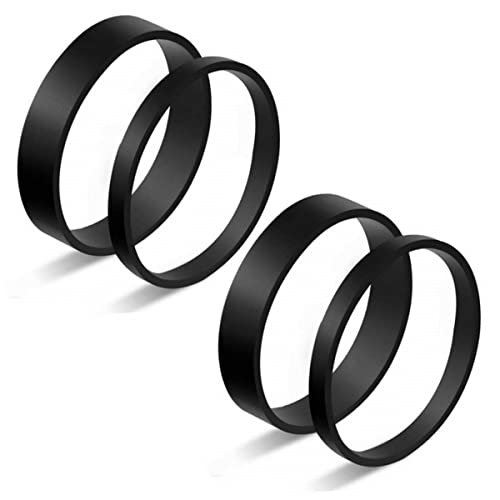
Affordable compatible belt set for DC33 vacuum

Value pack of replacement belts for DC33 models
Reassembly and Testing
Secure the housing cover with screws and plug in the vacuum. Turn it on to verify the beater bar spins freely. If issues persist, check for motor shaft damage or a faulty clutch.
Clutch and Belt Replacement Procedures
Clutch Misalignment Issues
In carpet mode, the clutch engages the beater bar. If the brush rolls stalls:
– Diagnose the clutch: Manually stop the brush roll. If it lacks resistance or a “ratcheting sound,” the clutch is faulty.
- Replace the clutch assembly: Disassemble the clutch cover (secured by T15 screws), extract worn components, and install a pre-assembled clutch kit (Part Number 8905).
If the clutch is faulty, replacing it with a new clutch assembly kit is essential for restoring the beater bar’s functionality in carpet mode.
Official replacement clutch for DC33 with drive belts for brush roll repair

Authorized OEM clutch assembly with matching part number for DC33 models
Detailed Belt Replacement Steps
For severe belt wear:
1. Access the clutch: Remove the soleplate and disconnect the internal hose.
2. Disassemble the clutch: Use snap ring pliers to extract the snap ring and separate clutch components.
-
Install new belts: Replace both the wide and narrow belts (Part Number 4626). Ensure they align with clutch ridges.
-
Reassemble carefully: Reinstall bearings, spring, and clutch plate. Secure the snap ring and test the mechanism.
Maintenance and Preventive Measures
Regular Cleaning Routine
- Empty the dust bin after each use to prevent airflow blockages.
- Clean filters monthly: Rinse washable filters or replace them every 6-12 months.
- Inspect the beater bar: Clear debris weekly to avoid jams.
If the filters are clogged or damaged, replacing them will help maintain optimal suction and prevent motor strain.
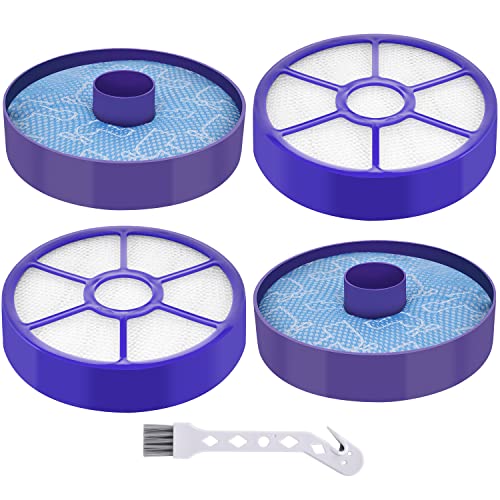
Complete set with pre/post filters and cleaning brush

Enhanced air quality with dual filtration performance
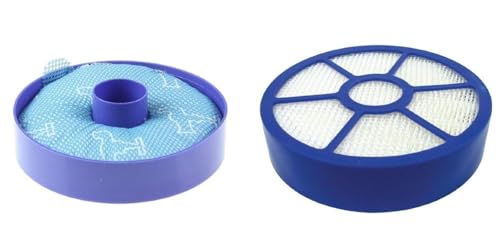
Cost-effective replacement with improved suction maintenance

Budget-friendly option for solo filter replacement
Proper Usage Tips
- Avoid aggressive scrubbing: Let the vacuum glide over carpets to reduce strain on the belt.
- Use correct settings: Switch to hard floor mode on tiles or wood to disengage the beater bar.
- Store properly: Keep the vacuum upright in a dry area to prevent hose kinks.
Lubricating Moving Parts
Apply a small amount of silicone lubricant to the brush roll axles and wheels quarterly. This reduces friction and extends component life.
Frequently Asked Questions (FAQ)
Why isn’t my Dyson DC33’s beater bar spinning?
The most common reasons are debris jams, a stretched belt, or clutch failure. Check each component systematically.
How do I replace the belt on a Dyson DC33?
Remove the housing cover, clear debris, slide off the old belt, and install a new one (Part Number 4626). Ensure proper tension before reassembly.
Can I use non-Dyson belts as replacements?
Yes, the Bissell 1699 pump belt works as an alternative. Flip it upside down for better grip if needed.
What tools are essential for clutch repair?
Snap ring pliers, Torx screwdrivers (T10/T15), and needle-nose pliers are critical for disassembling and reassembling the clutch.
How often should I maintain my Dyson DC33?
Monthly filter cleaning and weekly debris checks prevent most issues. Replace belts annually or when visibly worn.
Conclusion
A Dyson DC33 with a non-spinning belt can often be revived with basic troubleshooting. Start with simple fixes like debris removal and belt replacement before tackling clutch assembly issues. Regular maintenance ensures long-term reliability, while using quality replacement parts (like Part Number 8905 kits) guarantees lasting results. By following these steps, you’ll keep your vacuum performing like new—no technician required.
Final Tip: Always keep a spare belt and clutch kit on hand. Proactive replacements save time and extend your vacuum’s lifespan.


