
A non-spinning roller on your Dyson 44 can be a significant frustration, drastically reducing its cleaning effectiveness. This common issue can often be resolved with some targeted troubleshooting and maintenance, restoring your vacuum’s performance and extending its lifespan.
Affiliate disclosure: As an Amazon associate, We'll earn a commission for every successful order through our affiliate links in the article. However, you won’t be charged anything for this.
This article provides a comprehensive guide to help you identify the reasons your Dyson 44 roller isn’t spinning. We will explore step-by-step repair instructions for the Dyson 44, as well as specific guidance for Dyson Animal and V6 models. Additionally, we’ll cover essential maintenance practices to prevent future problems.
Spotting Problems with Your Dyson 44 Roller
Several tell-tale signs indicate your Dyson 44 roller may not be functioning correctly. You might first notice a significant decrease in suction power, as the brushroll is crucial for agitating and lifting dirt from surfaces. Unusual noises, such as a humming or grinding sound, can also point to a problem with the roller mechanism.
Visually, you may see debris, like hair and string, visibly wrapped around the brushroll, preventing it from turning. In some cases, a hot or burning smell might emanate from the vacuum head, suggesting friction or an overheating motor component related to the stuck roller.
Resolving a Dyson 44 Non-Spinning Roller Issue
When your Dyson 44’s brushroll stops spinning, a systematic approach can help pinpoint and fix the problem. Always turn off and unplug your vacuum before starting any inspection or repair for safety.
Clearing Obstructions from the Brushroll
Blockages are a primary culprit for a non-spinning roller.
1. Begin by removing the dust bin and checking it for any large pieces of debris that might be causing an obstruction further down.
2. Access the brushroll area by removing its protective cover, which usually unclips or unscrews.
3. Carefully use scissors to cut away any entangled hair, string, or fibers wrapped around the brushroll.
4. Once cleared, try to manually rotate the brushroll. It should spin freely.
5. Pay close attention to the black spiral connector inside the brush head. Remove the brush roller itself and use tweezers to meticulously clear any hidden debris from this connector, ensuring it also spins without resistance.
Examining the Brush Bar Belt
The brush bar belt is responsible for transferring power from the motor to the brushroll.
1. With the brush bar cover removed, locate the belt.
2. Inspect it thoroughly for any signs of wear, such as fraying, stretching, or complete breakage.
3. If the belt is damaged, it will need replacement. Remove the old belt from the brush bar and motor pulleys. Thread the new belt onto the designated pulleys, ensuring it is correctly aligned and has the proper tension.
Verifying Roller Orientation and Balance
Sometimes, an improperly seated or imbalanced brushroll can cause spinning issues. Test the brushroll by turning the vacuum head upside down and briefly running the vacuum (if safe and applicable to your model’s testing procedure) to observe its rotation. This can help identify balance problems or misaligned internal components.
Checking Electrical Connections
Electrical faults can also prevent the brushroll from operating.
1. Ensure the vacuum’s battery is fully charged.
2. Check the power button to confirm it engages properly.
3. Inspect the motor connections within the vacuum head for any loose or damaged wires. If you find any, carefully reconnect or secure them.
If you determine that the charging adapter is no longer working properly, it will need to be replaced.
Inspecting the Motor Unit
If the previous steps haven’t resolved the issue, the motor itself or other internal components might be faulty.
1. Listen for any unusual sounds when the vacuum is turned on, which might indicate motor distress.
2. You may need to disassemble the brush head further to inspect the motor, gears, and bearings.
3. Look for signs of worn gears or faulty bearings that could impede rotation.
4. Ensure all internal electrical connections to the motor are secure.
If the motor is faulty, you’ll need to replace it to restore the brushroll’s functionality.
Essential Dyson Vacuum Care and Upkeep
Consistent maintenance is key to preventing roller issues and ensuring your Dyson vacuum performs at its best.
Regular Cleaning Practices
- Make it a habit to clean the brushroll every few weeks, or more often if you have pets or long-haired individuals in the household, to remove accumulated hair and debris.
- Empty the dust bin after each use, or at least before it reaches the max fill line, to maintain optimal suction power.
- Check and clean the filters regularly according to your Dyson model’s specific manufacturer recommendations.
Periodic Belt Inspections
Periodically inspect the brush bar belt for any signs of wear, such as stretching, fraying, or cracking. Replace it promptly if you notice any damage to avoid further issues.
Correct Storage Methods
Store your vacuum cleaner in a dry place to prevent moisture from damaging electrical components or promoting mold growth in filters. When not in use, hang the vacuum upright if possible, or store it in a way that keeps the brushroll free from prolonged pressure or strain.
Model-Specific Upkeep (Animal & V6)
For both Dyson Animal and V6 models, regularly emptying the dust bin and cleaning filters and floor heads is crucial.
* Dyson Animal: A full service guide for cleaning the cyclone system is available and recommended for thorough maintenance.
* Dyson V6: The sock-style filter requires careful disassembly, rinsing under cold water, and complete drying (usually 24 hours) before reinstallation.
After any repairs, always reconnect the brush bar with its end cap and verify that it spins in the correct direction.
If the filter is damaged or worn, replace it to maintain optimal performance.
Important Notes for Dyson Animal & V6 Repairs

When tackling repairs on Dyson Animal and V6 models, keep these key points in mind:
* Primary Causes of Failure: For the Dyson Animal, clogged motor units are common. For both, dirty electrical contacts and neglected filter maintenance are frequent culprits.
* Critical Tools: A T8 Torx screwdriver is essential for accessing the Dyson Animal’s hidden motor unit. For the Dyson V6, you’ll need Torx T10 and flathead screwdrivers for disassembly.
* Lubrication: This is specifically important for the Dyson V6’s bearing mechanism. While general cleanliness is vital for the Animal, direct lubrication of its motor unit is not typically highlighted as a routine step.
* Replacement Parts: Affordable replacement brush bars and filters are generally available for both models. The Dyson Animal’s brush bar, for instance, typically has a lifespan of 6–12 months depending on use.
* Battery Impact (Dyson Animal): Regular maintenance, especially keeping the brushroll and motor unit clean, reduces strain on the Dyson Animal’s battery, potentially extending the overall lifespan of the vacuum.
If the brush bar is damaged or worn, replacing it can restore cleaning performance.
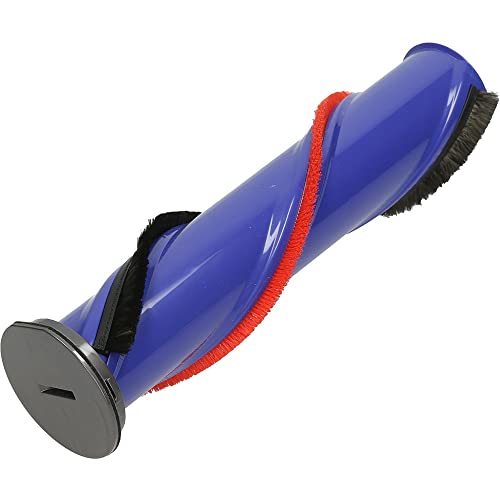
Official replacement for V8 Animal with durable nylon bristles
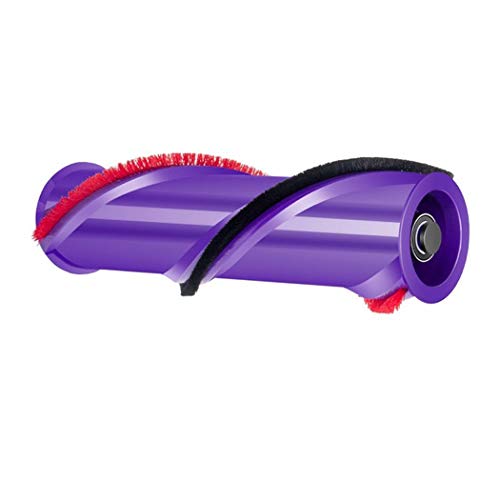
Affordable third-party replacement with precise fit
Frequently Asked Questions (FAQ)
What are common signs my Dyson 44 roller isn’t working?
Common indicators include a noticeable reduction in suction power, unusual humming or grinding noises coming from the vacuum head, visible hair and debris tangled around the brushroll, and sometimes a hot or burning smell.
How can I remove blockages from my Dyson 44 brushroll effectively?
First, ensure the vacuum is off and unplugged. Remove the dust bin. Then, access the brushroll by removing its cover. Use scissors to carefully cut away tangled debris. Don’t forget to inspect and clear the black spiral connector inside the brush head using tweezers if necessary.
Are there specific tools needed for Dyson Animal or V6 brush bar repairs?
Yes, for the Dyson Animal, a T8 Torx screwdriver is crucial for accessing a concealed screw in the motorized head. For the Dyson V6, you will typically need Torx T10 screws and a flathead screwdriver for disassembling the floor tool to clean the motor unit and bearing mechanism.
Conclusion
A Dyson 44 roller that refuses to spin can disrupt your cleaning routine, but it’s often a fixable problem. By carefully diagnosing the symptoms, methodically working through troubleshooting steps, and addressing specific issues related to your model—be it the Dyson 44, Animal, or V6—you can often restore your vacuum to full working order.
Remember that regular maintenance, including cleaning the brushroll, checking the belt, and keeping filters clear, is the best defense against future roller problems. These practices not only ensure consistent performance but also contribute to the longevity of your Dyson vacuum cleaner.


